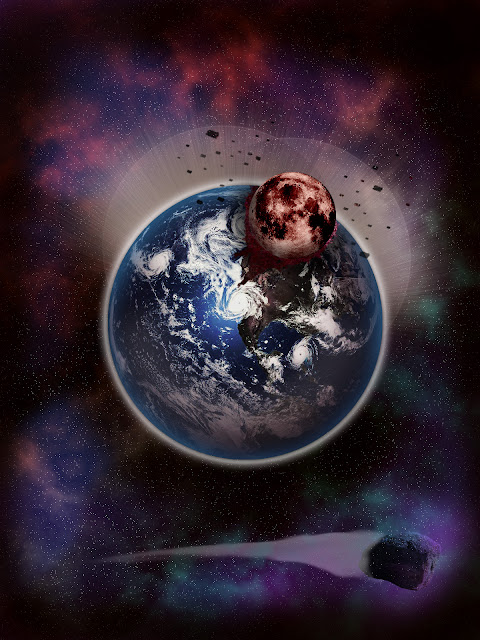
A remastered version of my other planet this matte painting
is a lot better. Still I will provide a recap on how I achieved my final
painting. I began with a document size around 1200 width 1600 height both in
pixels with a transparent background. To the transparent background I filled it
with white and low opacity. Then with a soft brush I scattered some black
around. Next was to make some clouds. You can do this with render clouds under
filter tab. I used difference clouds and is also located under the filter tab. I
repeated this process at least three times and put them in their own layers. With
my first set of clouds I added a gradient overlay to put my colors in. Next I began
with the star layer. To do this in a good way you can also find a useful tool
under the filter tab called noise. Make a new layer filled with black and under
the filter tab find noise. You want to make sure Gaussian and monochromatic are
checked. After you get your noise you want to use levels to bring out some
brighter “stars”. You can do this process twice if you like. Still working on
my atmosphere I wanted to add some extra color. I simply picked a color I wanted
filled it in a new layer and with a soft brush I erased the color away. Lastly I
took away from the edges painting a black edged outline because its outer space
and black is necessary. To bring everything together that I had so far I added
a color balance adjustment layer. Now working the planet, moon, and asteroid was
my next goal. First I did these two light explosion circles by using a large
hard brush and added an outer glow to it. Then to add to this explosion I added
light rays. To get light rays you start by using a brush with dissolve checked.
After you get a stroke you like add a radial blur from the filter tab. Also
make sure you have zoom and best checked when using blur from the filter tab to
get light rays. Now to the earth many different shades were added to it by
using the brush tool. Some black, white, and blue shades where added to spots
where needed. Lastly to finish up earth another color back was applied. The moon
was transformed by using hue/saturation and color balance to get a fitting
piece. Finally with the rock I thought a different way to use it. I used a
clone stamp tool on it and started to paint the earth where it was colliding
with the moon. I wanted to use the rock because it had a good texture that seem
like magma and rock from the earth core. I also used the clone stamp from the
rock to make the debris floating from earth. To make the colors fit
hue/saturation and color was used once more. Lastly just to incorporate the
rock I added it to the bottom flying past earth as it smashed into by the moon.
I used a lasso tool to get the stream behind the rock. I then used the gradient
tool to get colors I wanted, but I couldn’t get the colors to fit so I applied luminosity
from the blending options. The rock is supposed to be a shooting star but that’s
irony as earth is being destroyed.
Showing posts with label Custom Preset Brush. Show all posts
Showing posts with label Custom Preset Brush. Show all posts
Tuesday, June 26, 2012
Sunday, June 3, 2012


 Creating custom
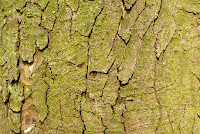
brushes can be done in Photoshop are useful for adding textures. For my brushes
I gathered a few images from flicker.com. Each of the images was enhanced by
using the levels tool. Brightness/contrast was used to touch up a few images
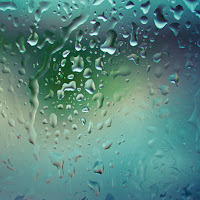
along with the shadow/highlights tool. For the water drops and spider web the
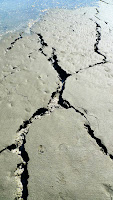
lasso tool was used to get a selection I wanted. Only for the ground with
cracks I converted the image mode into grayscale, then use Threshold to isolate
the cracks. My other two images were left as is. The next step after getting my
custom brush selections was to modify them with preset option. My best preset
brush was the cracks brush. It develops good cracks that could be used for
walls or ground images. The bark and spider web brushes were so so and I could
be improved after explain my troubles for other brushes. Some problems I had are
getting the brush to be realistic and also to flow well. For example the water
drop brush was something I had in mind that I thought ideally could be used on
any object. After doing an image adjustment and making my selection I had spent
some time in the preset option but I could get what I wanted. Along with the
rust brush I wanted to create a texture but as much I played around with the
preset it seems like I couldn’t make a difference. The most I got from the
preset options was different shades. In the end some images worked better than
the other.
Subscribe to:
Posts (Atom)

